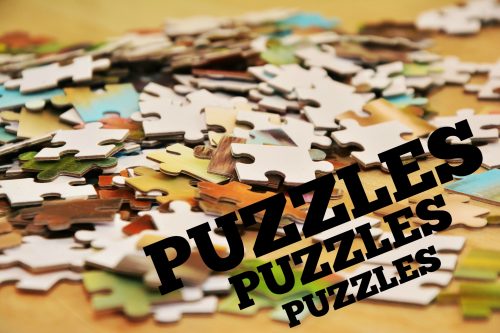
Puzzles can be used as a picture, game and/or object lesson. They can be used in any lesson for children, youth, or adults.
I love puzzles. I love figuring out how the pieces go together and I love seeing the completed picture at the end.
What’s fun about using a puzzle in your lesson, is that you can use any picture you want that goes along with your lesson. You can make any picture into a puzzle and it’s a great way to grab your students’ attention and keep them actively participating in your lesson.
First I’ll explain how you can easily make a puzzle, then I’ll explain two ways you can incorporate a puzzle into your lesson, and finally, I will show you an example of using puzzles in a lesson I did on Pioneers.
How to Make a Puzzle
The first thing you need to do is choose a picture you want to use. It can be a physical copy of one or one you find on the internet.
If you have a physical copy of the picture you want to use, simply make a copy of it and then cut it into puzzle pieces. *You can copy it on a home copier or take it to your local print shop.
OR
Choose the picture you want to use off of the internet, save it to your computer, and then simply print it out on your home printer OR send it to your local copy shop via email or download it to a place like Walgreens and have them print it out.
*Whichever way you do it, you may consider enlarging it to a size such as 11 x 14 so that it is big enough for everyone in the classroom to see.
Once you have a copy of the picture you want to use, turn it over and draw an outline of puzzle pieces and cut them out. It’s as simple as that 😉
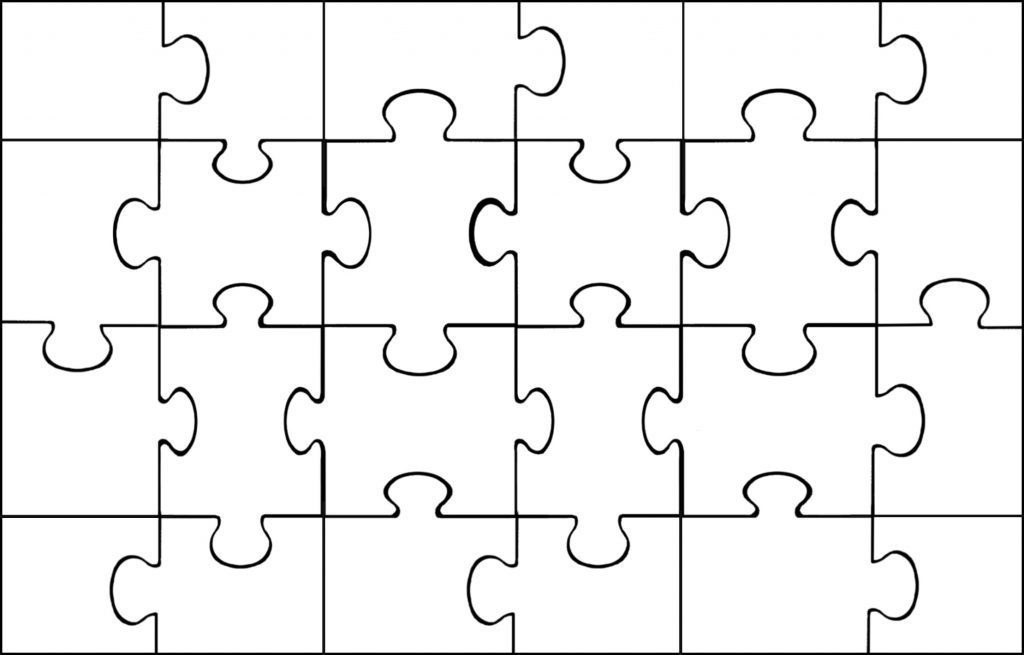
*Below I have included a download of a puzzle outline in case you feel more comfortable printing it out, taping it to the back of your picture, and then cutting along the lines.
Believe me when I say IT DOES NOT HAVE TO BE PERFECT 🙂 The pieces do not all have to be the same exact size.
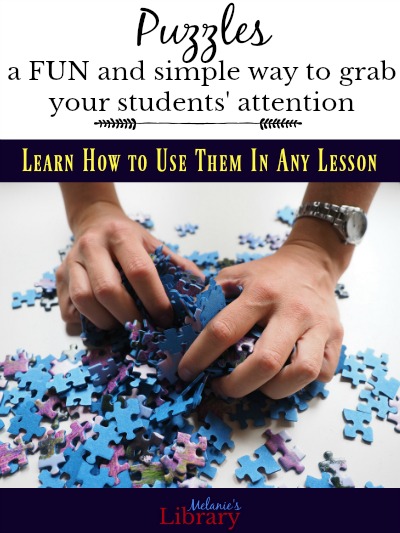
How to Incorporate a Puzzle Into Your Lesson
There are a couple of different ways you can incorporate a puzzle into your lesson.
1.Divide the lesson up into sections and divide the number of puzzle pieces. (About 1-2 pieces per section of the lesson) After you finish discussing each section of the lesson, ask someone to come up and add 1-2 pieces to the puzzle. At the end, you have a picture that goes along with your lesson.
2.As you go throughout the lesson, for each question that is answered, the person who answers the question is invited up to add a piece to the puzzle.
An Example of Using a Puzzle in a Lesson
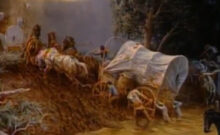
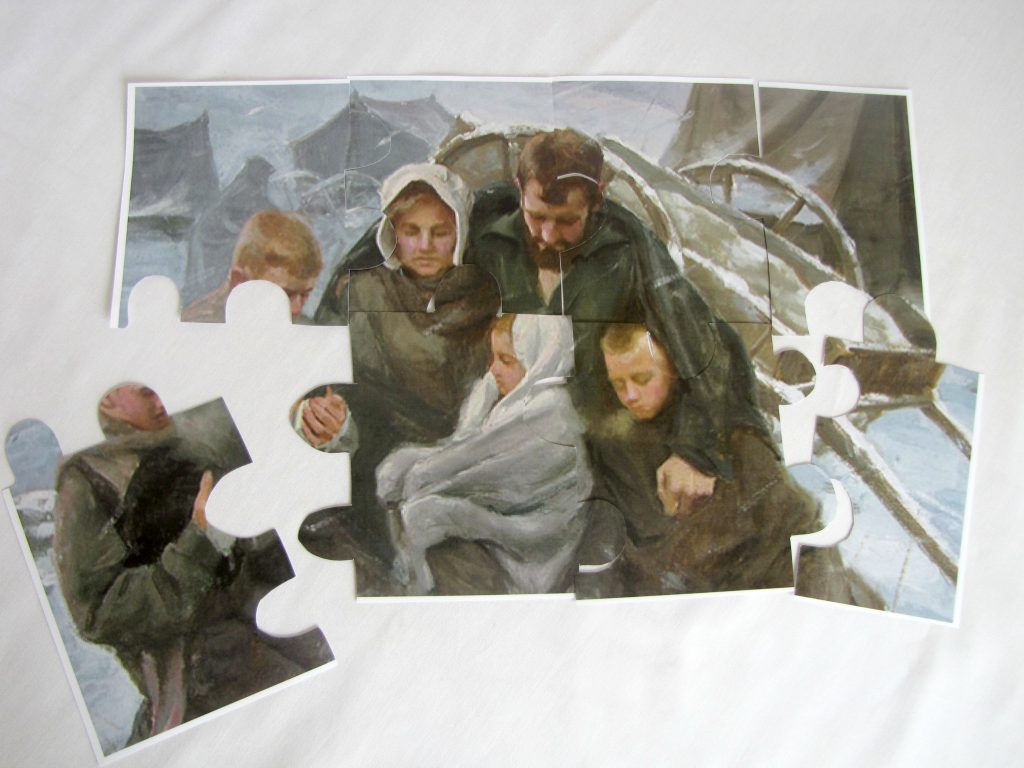
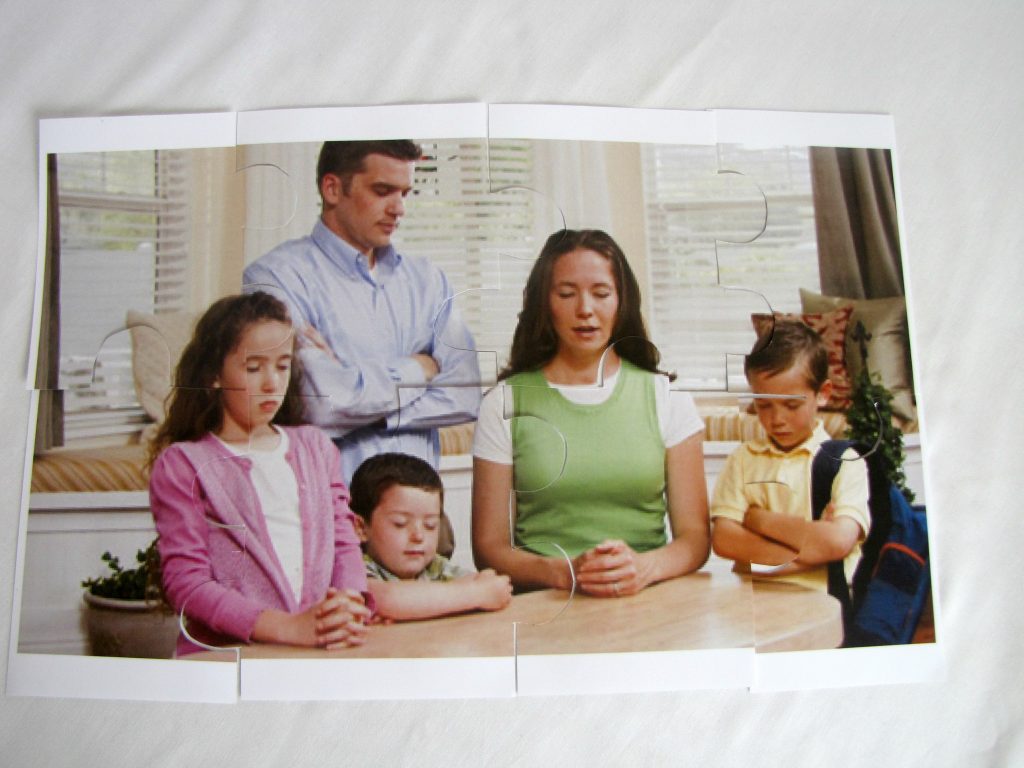
In a lesson I did called Faith in Every Footstep, we were comparing the Pioneers journey to our own life’s journey.
Throughout the lesson, each time someone read a scripture I would have them come up and put a puzzle piece on the puzzle on the left. I also asked a question after each scripture we read. Whoever answered the question would then come up and put a puzzle piece up on the puzzle on the right.
At the end of the lesson, we had 2 pictures completed that represented what we had been talking about. It was a great way to wrap up the lesson by then talking about what the two pictures represented and how it went along with the lesson.
As shown below, you can see how the two pictures were a great comparison of a pioneer family kneeling in family prayer just as we kneel in prayer with our families today.
I prefer magnets to hang the puzzle pieces up on the board, or you can use tape.
Have fun with it!
For another fun game that can be used in almost any lesson, try Hedbanz, Church Style! It is a great attention-getter to introduce your lesson’s topic. Can be used for primary, youth, or adults. Click HERE
Be sure and sign up for more great gospel resources delivered right to your inbox! 🙂
Yours Truly,